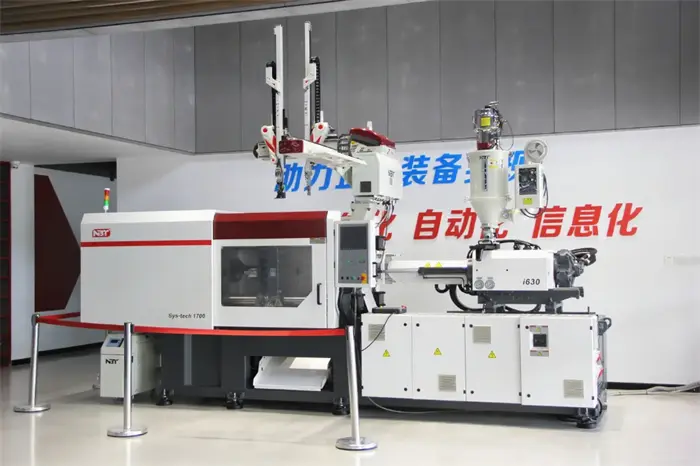
I have spent my entire life on factory floors. I remember when every part was picked by hand. Those days are gone for good. If you want to grow, you must automate. Robotic arms are the best first step. They bring speed, safety, and consistency. But you have to do it right. A bad setup causes more trouble than it is worth. Let us look at how to get it done properly.
Step 1: Match the Robotic Arms to Your Machine Tonnage
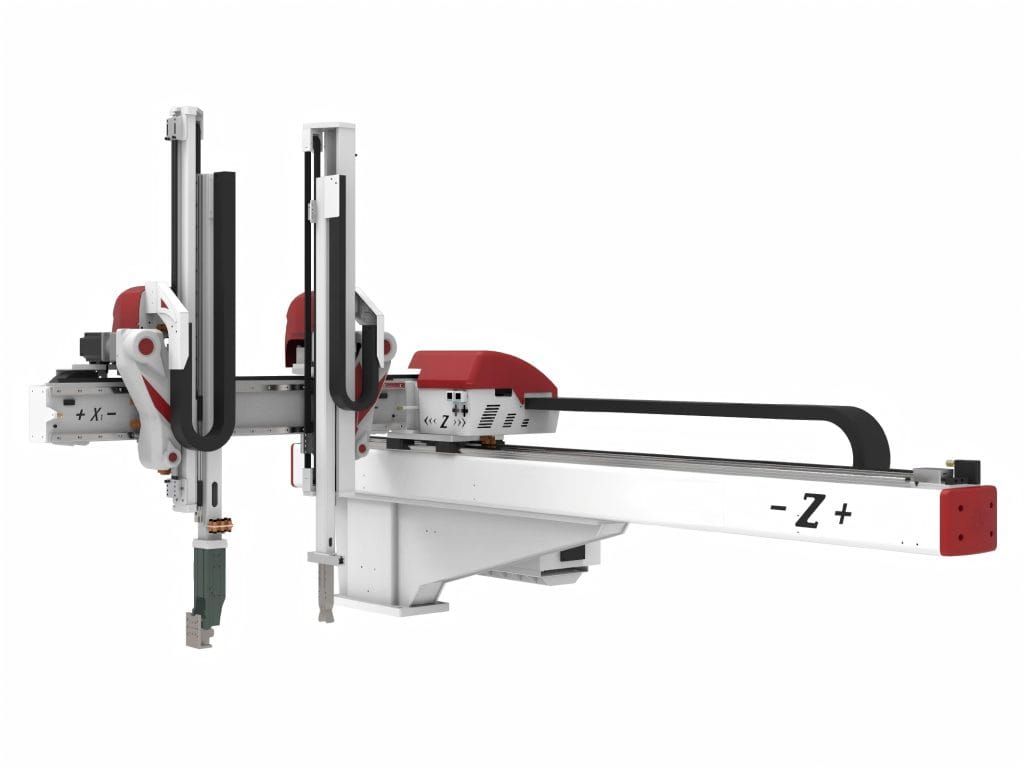
Size matters here. You cannot put a massive arm on a small 50-ton machine. It will shake the frame. It also wastes a lot of electricity. For small machines, a simple 3-axis sprue picker works well. For larger machines over 500 tons, you need a heavy-duty traverse robot. Measure your ceiling height too. I have seen people buy great robotic arms that hit the roof. Do not be that person. Measure twice and buy once.
Step 2: Compatibility of Injection Molding Automation Systems
This is a technical must. Your machine and the arm must talk to each other. Most modern setups use the EUROMAP 67 interface standard. https://www.euromap.org/technical-issues/interfacesThis plug allows the machine and the arm to talk. Older machines might use EUROMAP 12. Check your electrical cabinet before you order. If the plugs do not match, you will spend weeks on wiring. A standard interface makes the install plug-and-play. It also ensures the mold does not close while the arm is inside. That mistake costs a fortune in repairs.
Step 3: Tooling Design to Add Robotic Arms to Your Injection Molding Setup
The arm is just a tool mover. The “hand” or EOAT does the real work. You need to design this for your specific part. Vacuum cups are great for flat surfaces. Mechanical grippers are better for heavy or oily parts. I always suggest using quick-change plates. This allows you to swap tools in seconds. When you add robotic arms to your injection molding setup, keep the tool light. A heavy tool slows down the arm and increases wear.
Step 4: Automate Injection Molding with Robots for Faster Cycles
Speed is the goal. Every second you save is extra profit. Program the arm to move in a smooth arc. Avoid jerky movements. Jerky moves wear out the motors fast. I like to set the arm to wait just outside the safety door. As soon as the mold opens, the arm should dive in. If you shave off two seconds, you might get 100 extra parts a day. That adds up over a year.
Step 5: Prioritize Safety and Fencing
Robotic arms move fast. They do not see people in their way. You must install proper safety fencing. Use interlocked gates. If the gate opens, the arm must stop instantly. I also recommend light curtains for the drop zone. Safety is not just about rules. It is about protecting your team. A safe factory is a happy and productive factory.
Conclusion and Next Steps
Automation is an investment in your future. Robotic arms pay for themselves very fast. They make your production predictable. You will sleep better knowing your machines run steady all night. Are you ready to upgrade? You can choose whatever you want in our robotic arms products categories. We can help you pick the perfect arm for your machine today.